 2Q Solutions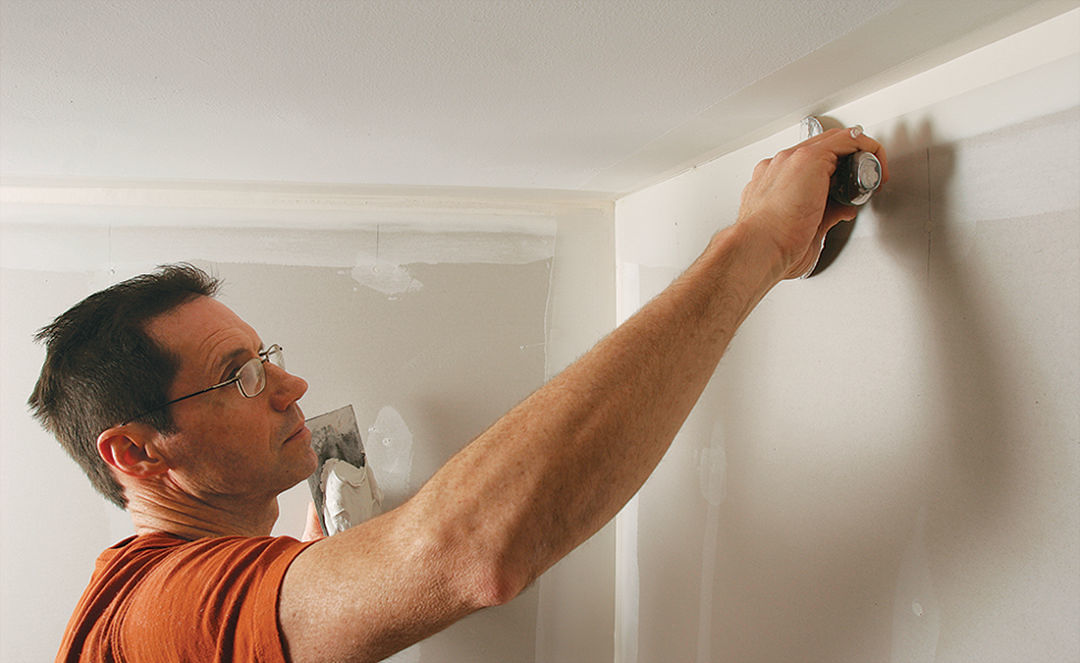
Inside corners are among the most demanding areas of drywall finishing. Flat seams provide plenty of working room, but corners require control, balance, and careful compound distribution. A drywall angle head is designed specifically to make this part of the finishing process more efficient and consistent.
For contractors working across multiple rooms or large drywall projects, finishing every corner manually can consume significant time. The right technique and equipment can simplify the process while helping produce smooth, professional-looking results.
What Is a Drywall Angle Head?
A drywall angle head is a specialized finishing tool used primarily on internal drywall corners. It helps spread and smooth joint compound along both sides of an angle at the same time.
Instead of repeatedly working each side of a corner separately, the drywall angle head allows the user to approach the joint as one continuous finishing area.
This can improve workflow, particularly when a project includes numerous wall-to-wall and wall-to-ceiling corners.
Why Inside Corners Need Special Attention
Drywall corners behave differently from flat joints. Tape must sit properly in the angle, compound needs balanced distribution, and the finished edges should blend smoothly into the surrounding surface.
Consistency on Both Sides
One challenge with manual corner finishing is maintaining equal coverage on both sides. Applying too much material to one surface may create ridges or unnecessary sanding.
A drywall angle head helps manage both sides simultaneously. With correct technique, this produces a more balanced finish.
Efficient Corner Work
Large rooms may contain many linear feet of inside corners. When several rooms are involved, the workload grows quickly.
Using a drywall angle head can reduce repetitive hand finishing and help experienced workers move through corners systematically.
How a Drywall Angle Head Fits Into the Process
A drywall angle head is not usually the first tool to touch a new corner. Proper preparation must happen beforehand.
Start With Correct Tape Placement
The corner should first receive tape and joint compound. Tape needs to sit firmly in the angle without bubbles, folds, or loose sections.
Allowing the initial stage to set correctly creates a dependable base for subsequent finishing.
Apply the Finishing Compound
After preparation, additional compound can be distributed along the corner. The drywall angle head then helps shape and smooth the material.
Controlled pressure is essential. Pushing too aggressively can remove excessive compound, while insufficient pressure may leave unwanted buildup.
Inspect the Finished Corner
After completing a pass, inspect the corner under good lighting. Look for uneven edges, excess compound, or areas requiring another controlled pass.
Small corrections made early can reduce later sanding.
Selecting the Appropriate Size
Different drywall jobs can benefit from different tool dimensions. A smaller drywall angle head may provide additional control in tighter spaces, while larger options can help create broader finished edges.
The appropriate choice depends on project conditions, finishing preferences, and the stage of the coating process.
Rather than choosing based only on size, consider how comfortably the tool moves through the corners you encounter most frequently.
Developing Better Technique
Even specialized equipment requires practice. New users should focus on smooth movement rather than maximum speed.
Keep the drywall angle head centered in the corner and maintain steady pressure throughout the pass. Sudden changes in pressure can create inconsistent compound distribution.
Working on accessible vertical corners first can help develop control before moving to high walls and ceiling angles.
Avoid Overworking the Compound
Repeated passes may seem like a way to perfect the surface, but excessive manipulation can sometimes make finishing more difficult.
Apply the material carefully, make a controlled finishing pass, inspect the result, and correct only where necessary.
Cleaning and Maintenance
Joint compound should not remain inside or around moving components after work is complete.
Clean the drywall angle head thoroughly after use. Pay attention to contact surfaces, wheels, blades, and areas where compound can accumulate.
Routine cleaning keeps movement smooth and makes the tool easier to prepare for the next job.
Inspecting components periodically is equally useful. Worn or damaged parts may affect how consistently the drywall angle head follows the corner.
Improving Overall Drywall Productivity
A single tool does not determine finishing quality. Efficient drywall work comes from coordinating preparation, material consistency, application technique, drying time, and final surface inspection.
The drywall angle head contributes by making one particularly repetitive stage easier to manage.
When workers develop a repeatable corner-finishing routine, they can spend less time correcting inconsistencies and more time progressing through the project.
Conclusion
A drywall angle head provides a practical way to improve efficiency when finishing internal drywall corners. By working both sides of an angle simultaneously, it can help create consistent compound coverage and reduce repetitive hand finishing.
Successful results still depend on properly installed tape, suitable compound consistency, controlled pressure, and careful inspection. Regular cleaning and maintenance also help preserve reliable performance.
For anyone handling frequent drywall finishing work, mastering the drywall angle head can turn challenging inside corners into a more organized and predictable part of the finishing process.